If you are an Android user and you have ever had to search for information in forums or websites to solve a problem with your device, surely you have ever heard of USB debugging mode or USB debugging mode. Some apps even request to activate this option to function correctly, so it is not surprising that we have come across it on occasion in our Android settings menu.
What is the USB debugging mode or USB debugging mode exactly?
The term "depuration"Comes from English"debugging”And refers to process of debugging or correcting errors in a computer program. When a developer or developer you are working on new software, it usually goes (one or several times) through a debugging phase, which helps you correct errors in your code.
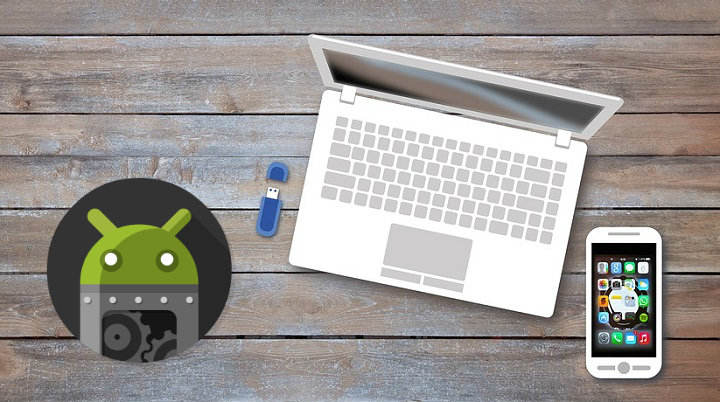
Have you ever wondered how Android developers create apps? It would be ridiculous (as well as uncomfortable) if they had to be typing all that code directly on the phone to create a new app. Instead, they do all the programming work on a PC and then pass it to an Android device for installation and testing.
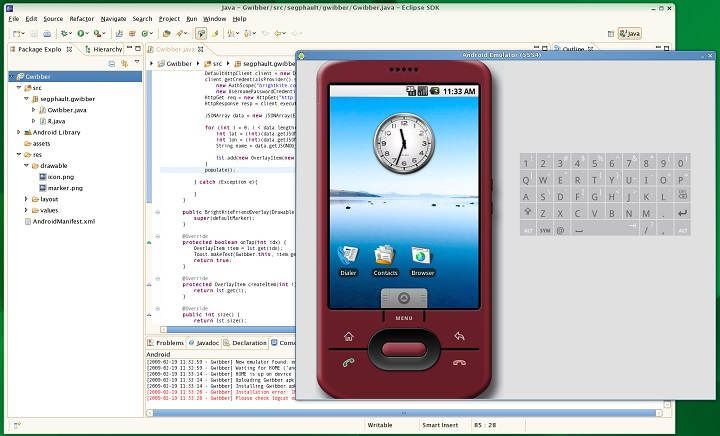 App programming is done on the PC, tested with an emulator and then copied to the device for testing
Programming work is done by theAndroid SDK (Android Software Development Kit), a PC application used to develop apps on Android . Once the program is developed, it can be copied and run on a phone or tablet using a USB cable, and enabling the "USB debugging" mode in the terminal. Much more practical, right?
What is USB debugging for?
USB debugging mode is also known as "developer mode." So if we are not going to develop anything for Android we will never need this option, right? Uh ... mistake.
Now we know that USB debugging allows us to establish a connection between an Android device and a computer, but we must also bear in mind that we are opening certain doors that would otherwise be closed.
The most common use of USB debugging, leaving aside everything related to the testing and programming process, is its ability to allow major changes in the system. In this way we can root a device, install a new custom ROM or flash a new recovery. Moreover, if at any time the device is bricked (It remains brick, useless) we can try to solve it with the Android SDK and activating USB debugging.

How to enable USB debugging
Debugging mode is a delicate option, and therefore it is an option that is hidden in the Android settings menu. To activate it we must follow the following steps:
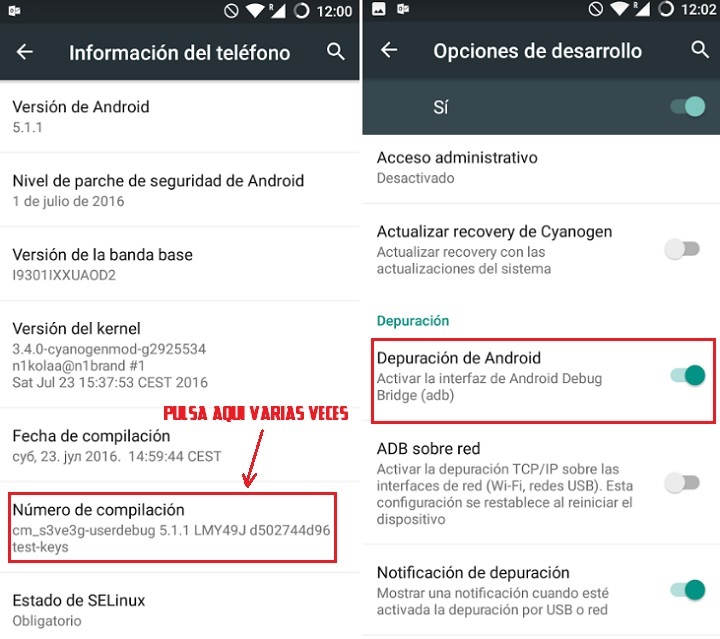
- Go to the menu of “Settings " from Android, enter "Phone information " and click 6 or 7 times in a row on the "Build number " until you see a message stating that development options are activated.
- Now we just have to go back to the settings menu, and we will see a new option called "Development options”. Enter and in the Debugging section, activate the "USB debugging"Or"Android debugging«. If you miss a warning message, accept it.
Conclusions
As you may have deduced, unless we are programmers, USB debugging is not a function that we will use on a daily basis. Therefore, it is recommended that we leave this option disabled by default and only use it when it is really necessary.
On the other hand, if we don't like to sauté too much and are happy with the standard functions of our Android device, USB debugging is a feature that we will probably never need. Of course, it never hurts to know its existence, since in the event of a possible breakdown "of the fat ones" it can be totally key to solving the problem.
You have Telegram installed? Receive the best post of each day on our channel. Or if you prefer, find out everything from our Facebook page.