
Years ago when you wanted to create a free website if you were looking for something more than a blog, or you simply wanted to set up an original website, you had no choice but to learn to program. Today this entire process has become much more accessible and we can safely say that anyone can create their own website, And it is more! without spending a single penny in the process. It is enough that you want to learn something new. You want to know How to create a free web page and also look great? Keep reading…
How to create a free website explained step by step
Step 1: Register a Domain
The first step in learning how to create a free website is to register a domain. What is a domain?The domain is the name that your website will have, or rather, the URL that you will have to type in the address bar of your browser in order to load your page. Your website will be hosted on a server, and will have a unique identifier, an IP address. The domain will take care of translating that IP address into a nice name.
Normally you have to pay to register a domain in your name, and although they do not usually cost much (they are around 10-15 euros per year) if it is the first time that you are going to get into this world the best thing is that you register a free domain, what are there: the '.tk' domains. This domain corresponds to the New Zealand archipelago of Tokelau, where they give away free and paid domains to promote and help support the fishing families that live there. Let's register a Tokelau domain then!
NOTE : If you are going to start a serious and lasting project and what you want is create a professional websiteIn this case, I recommend that you hire a .COM domain. They can be obtained for less than $ 10 and in the long run they help more to position in the face of search engines.
Go to //www-src.dot.tk/es/ and write the name you want to register and press “Go”. In our case we are going to register the domain hypercube.tk

If the domain is free, a window will appear with data to fill in. The most important data we have to put in are the names and IPs of the DNS servers that we are going to use (The DNS will be the ones in charge of translating the name of our page to the IP address where our website is hosted). What do we have to put here? When we hire the accommodation with X we will have to put the DNS of that provider. We have not reached that point yet, but since we have already decided that we are going to stay at Hostinger to create our free website (since Hostinger is free), we are going to put the DNS of that provider. Look at the image below:
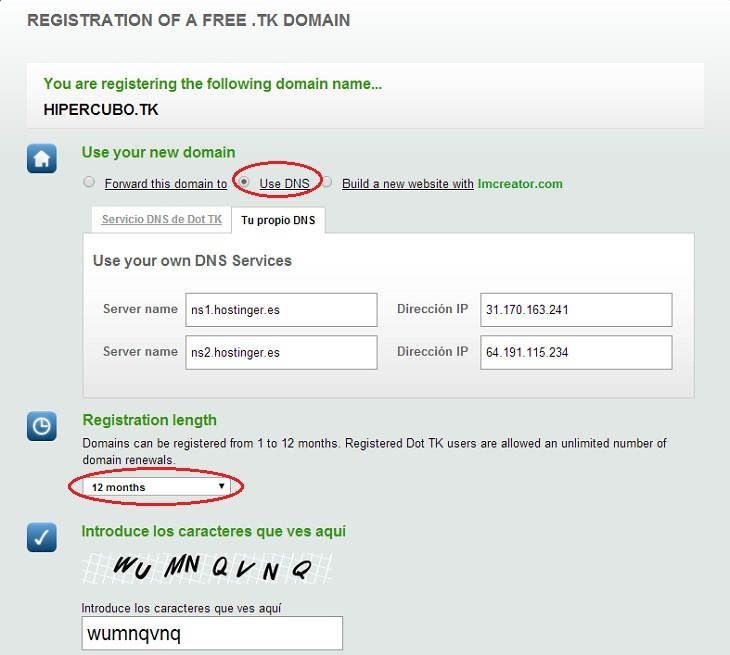
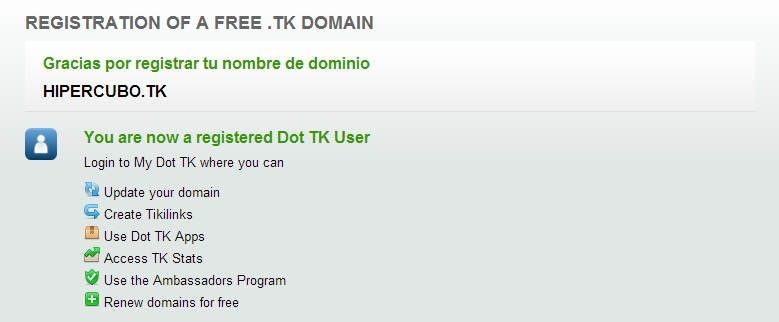
To end remember to indicate that you want to register the domain for one year and pull forward. Finally you will need to indicate your email address or your Facebook account to confirm the registration. If everything went well you will get a message like this:
NOTE2: If after a while you decide to migrate your domain to another with another name, I recommend that you take a look at the following post: What is a 301 redirect and how to do it.
Step 2: Hire a Hosting to host your website
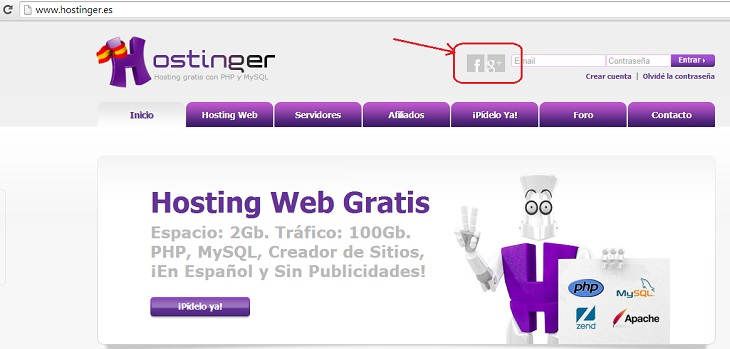
Now that you have a registered domain you need a server where you can host your web page. One of the most important points to take into account during the process of creating a free website is deciding on hosting. In our case, as we don't want to spend money yet, we are going to stay at Hostinger, which is a provider that offers free hosting without advertising.
Enter www.hostinger.es and register (you can do it with your Facebook or Gmail account).
Once you are registered in the top menu of Hostinger go to "Hosting ->New account”.
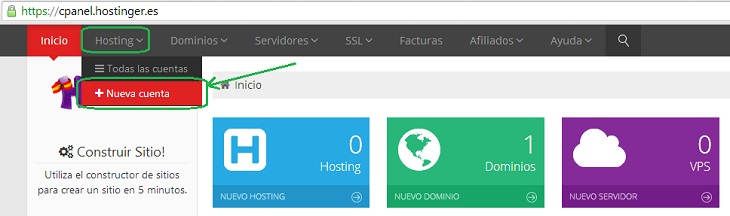
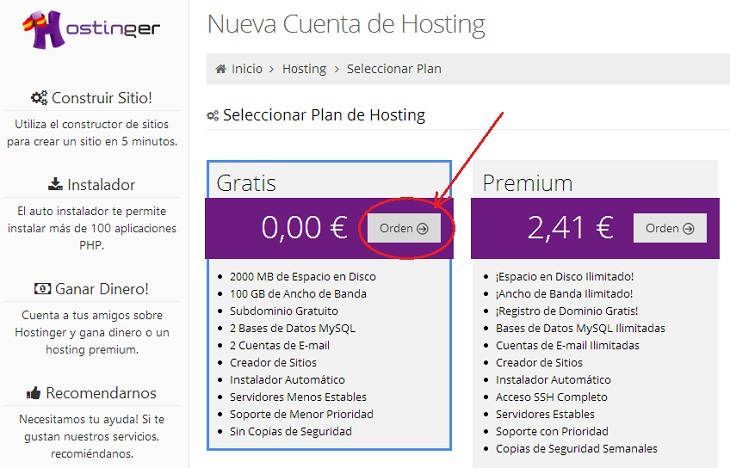
Select the free plan (see image) by clicking on "Order”.
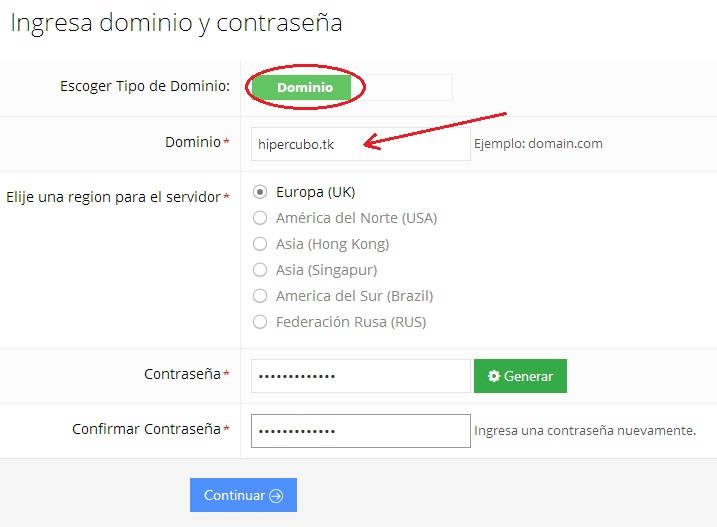
On "Domain Type"You must choose"Domain", And in the field"Domain”You must write the domain .tk that you just registered in the previous point. To go ahead write a password and press "Continue”.
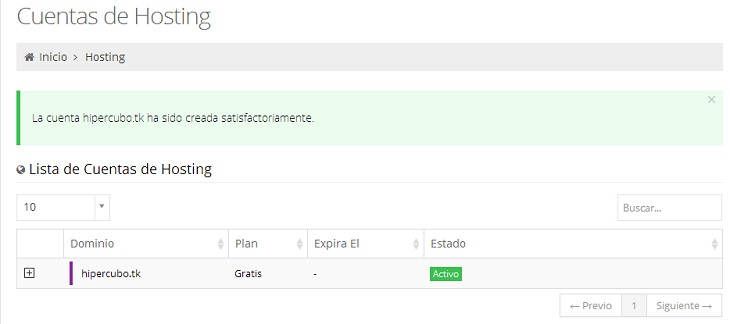
Finally, it will ask you to verify and confirm the registration. We already have our hosting account contracted!
Step 3: Install WordPress
Now that you already have a domain and a server where to host your website, you only need to install a content management system (CMS), which will take care of shaping your page. When considering how to create a free website, the content manager is another key point. One of the most versatile, easy-to-use and widely used CMS today is WordPress, so let's go.
WordPress is very easy to install, just download the installer and copy its content to your server, but Hostinger has an automatic WordPress installer, so the installation process is even easier if possible.
From your newly created account, open the drop-down and select “Automatic Installer”.
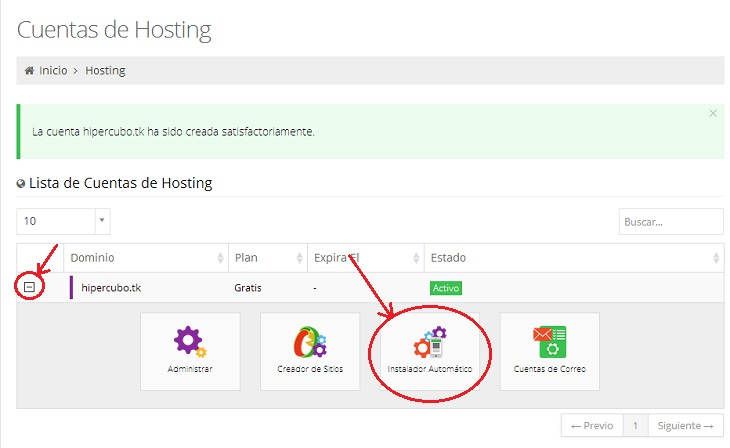
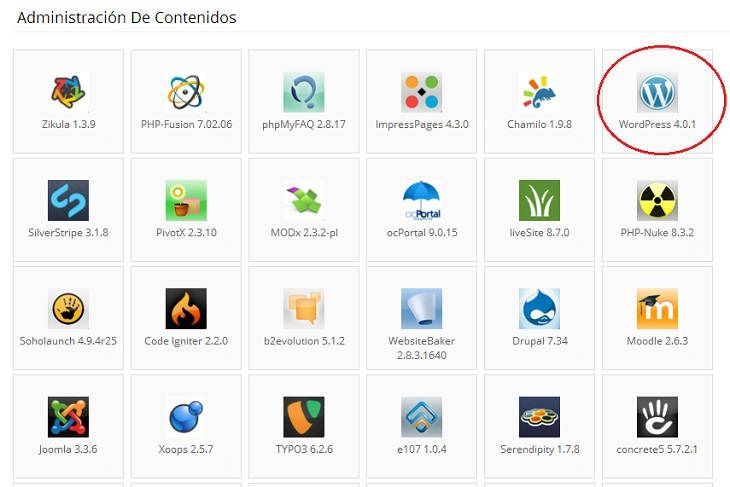
Locate the WordPress icon click on it.
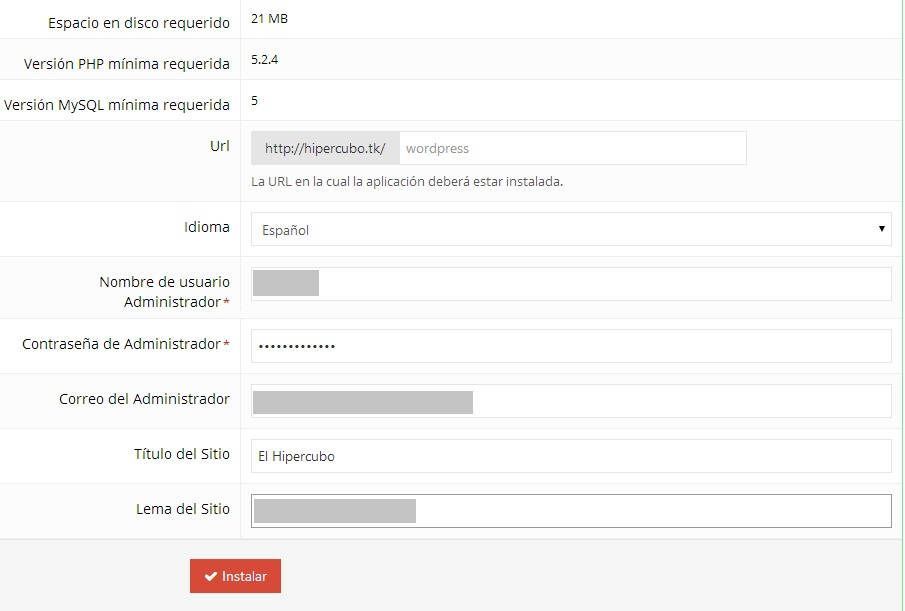
To install WordPress you just have to choose the administrator account with which you will access the web and a password, in addition to the name of the site and a small motto. Click on "Install”.
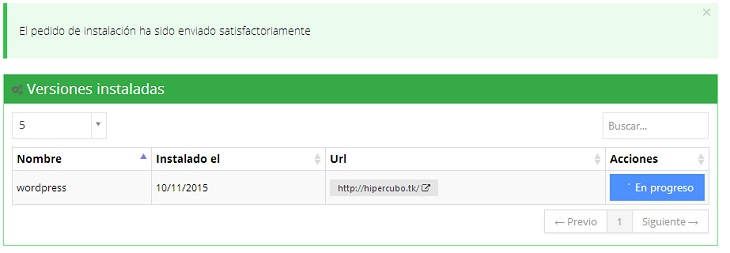
You will now be redirected to a screen indicating that the installation is in progress. This operation it can last a few minutes.
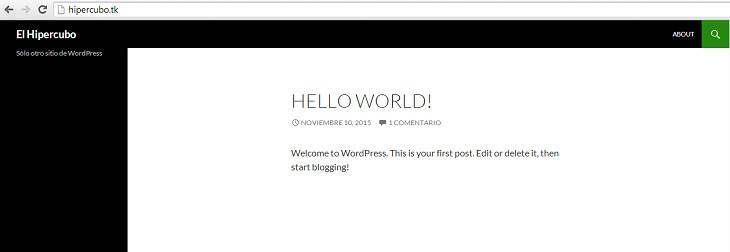
Once the installation is finished, try to type in the browser the address of your website (the domain that you registered at the beginning) ...You already have a website !!
Important! Keep in mind that during this process you will have received 2 emails from Hostinger with all the access data to manage your website, the ftp access, the server's IP address, etc. Save those emails like gold on cloth.
To access in administrator mode and be able to manage your web page, you just have to write the “URL of your site / admin ”. In the case of the example, if we have registered the hypercubo.tk domain, in order to administer our website we should load hypercube.tk/admin in the address bar of our browser, accessing with the username and password that we have indicated when installing WordPress. If you don't remember these details, don't worry, they appear in the email you received right after installing WordPress on your server.
If you realize it, during the whole process of how to create a free website you will be receiving a lot of emails with accesses and passwords. A recommendation: Create a folder in your mailbox to store all these important emails, or create an excel sheet with all the data. Surely at some point you will appreciate it!
Step 4: Customize your website
Now that you know How to create a free web page Now you just have to customize it. It's the most fun !:
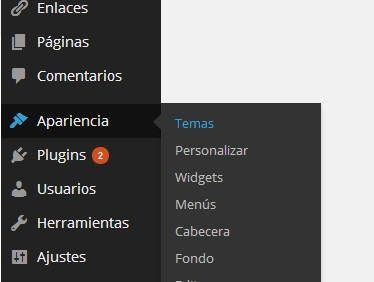
- Install a theme: The theme of your website is the one that takes care of the visual aspect of your page. The font, the colors, the structure of the sections, the menus, etc. will be defined once you install the theme of your website. You can install your theme from "Appearance -> Themes" in the administrator menu of your site
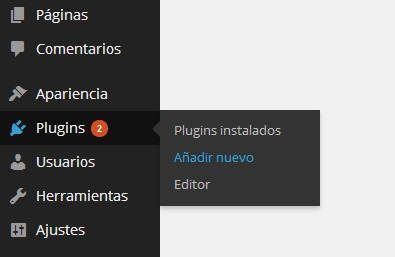
- Install plugins: Plugins are extra applications and functionalities that you can install on your website. There are plugins to be able to create forums, improve the visual aspect of your website, send emails, set up a store and much more. Do you want to do something but don't know how? Sure there is a plugin for it. You can install plugins on your website from "Plugins ->Add new”In the administrator menu of your site. Keep in mind that yes, plugins take up space and consume resources on the server, so if you don't want your site to be especially slow, don't abuse them.
The customization of a site is the most expensive section and where I sincerely believe that it is advisable to invest as much time as possible, so if you want to know more about this topic and ask for it, I will make another post developing this matter much more.
Step 5: Create your pages and write posts
From here on, all that remains is constant work, creating pages and writing posts, which is what will give your website personality, body and strength. Cheer up!
What do you think of this tutorial of How to create a free web page? To finish, I want to remind you that if you want to take this seriously, buy a paid domain (.com, .es, .mx ...) and pay for a good server that gives you the confidence and security you need. These types of services are not particularly expensive, and the benefits they provide more than cover the effort.